


You know those girls in elementary school that were really good at all of the art projects, and had the most creative mobiles, and diaramas? Then middle school came around and they had the prettiest, most bubbly, note passing handwriting? Then in high school their powderpuff shirts were always on point? This was not me. I was never artistic or creative, I still have handwriting like a 3rd grade boy (better than my sisters, however) and my powderpuff shirts always came out looking like I was just in a street fight. I don't pity myself - I have other talents! ....arts and crafts or flower arranging is just not one of them.
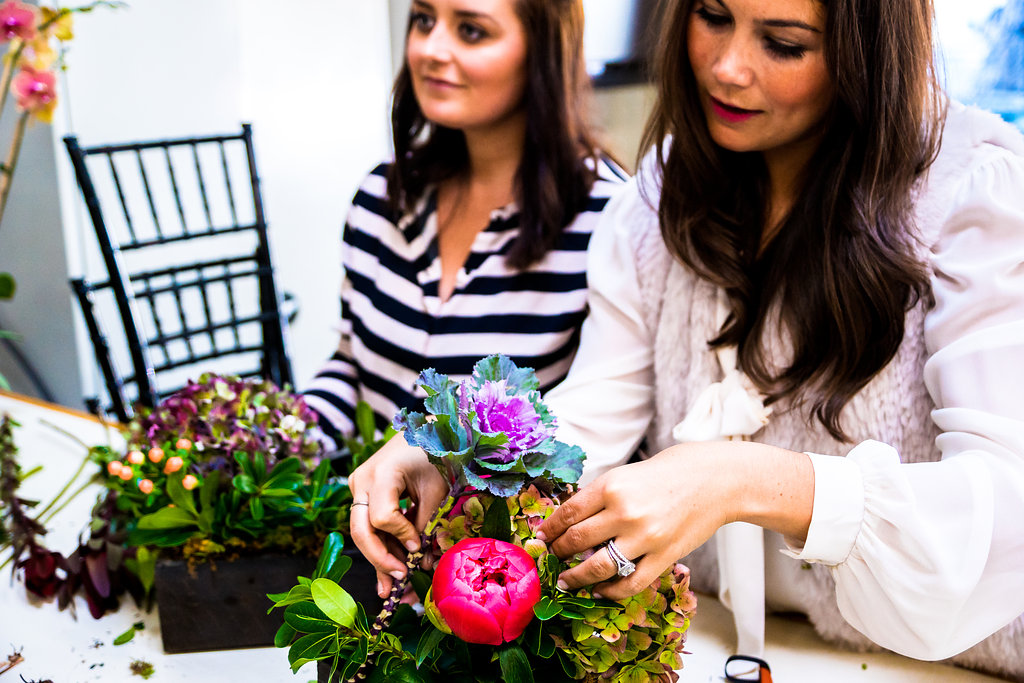
Last week, Jonny and I hosted a Friendsgiving party at our house - which I will be sharing with you tomorrow! I wanted to be sure to have centerpieces to brighten up our space, but weren't overly fancy since it was a casual gathering. I decided that this could be a fun learning moment for me and a couple of girl friends, so we took the opportunity to learn how to make our own arrangements at my favorite local florist, Newberry Brothers. It was such a great experience for all of us!
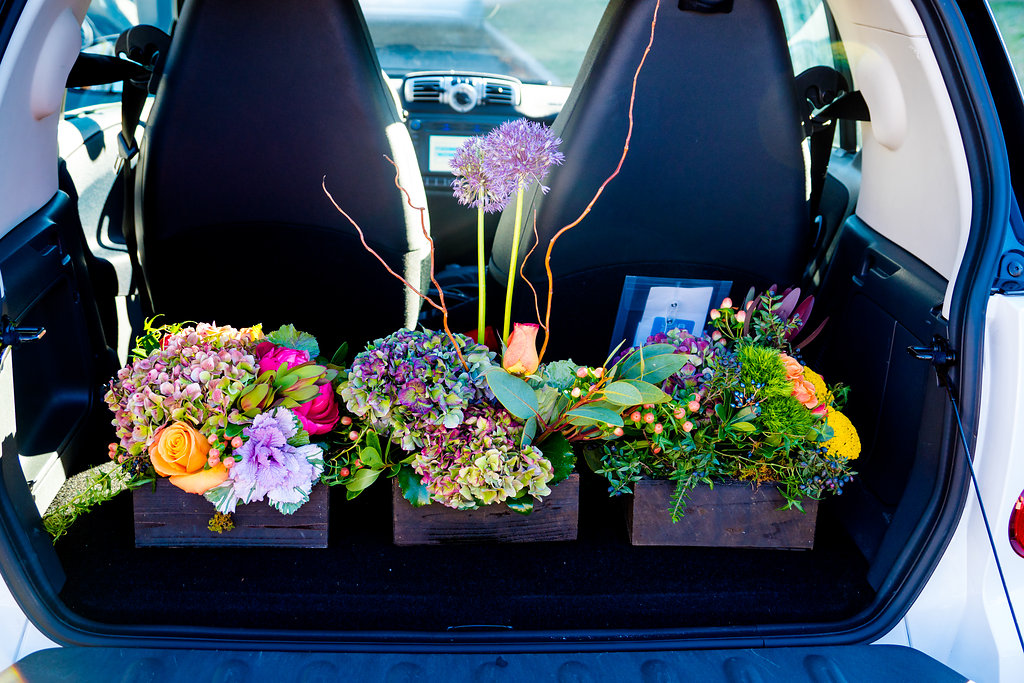
I had about a million and one things to do, including stopping by Newberry's, and errands to run in preparation for our party. It was so convenient bopping around town in a Car2Go and not having to worry about parking! Not to mention, I am pretty sure this is the closest I will ever get to my dream of a Mini Cooper (Jonny says they don't make sense for mountain driving..... do boys always have to be so logical?).
Below are the steps broken down, for creating an arrangement or centerpiece that will pretty up any table!

- Step 1: Gather your flowers (I know, obvious - but I had to say it). We used different flowers in each of our arrangements, but had a common color scheme and a few common flowers so they would match, but not look identical. We each used orange spray roses, hypericum berries, purple kale, and antique hydrangeas in our arrangements (and, no, we did not end up using the little pumpkins I am holding...although I wanted so badly for them to work).

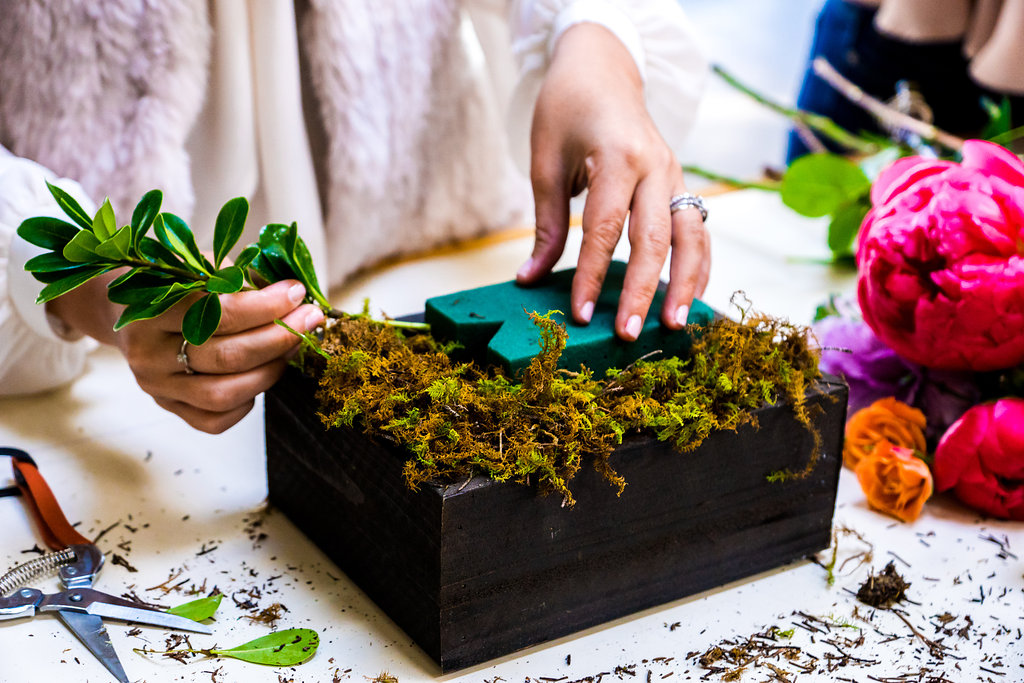
- Step 2: If you are using a wooden box as we did, make sure to insert a plastic liner, then floral foam cut to fit inside. Be sure to soak the foam so the flowers stay moist.
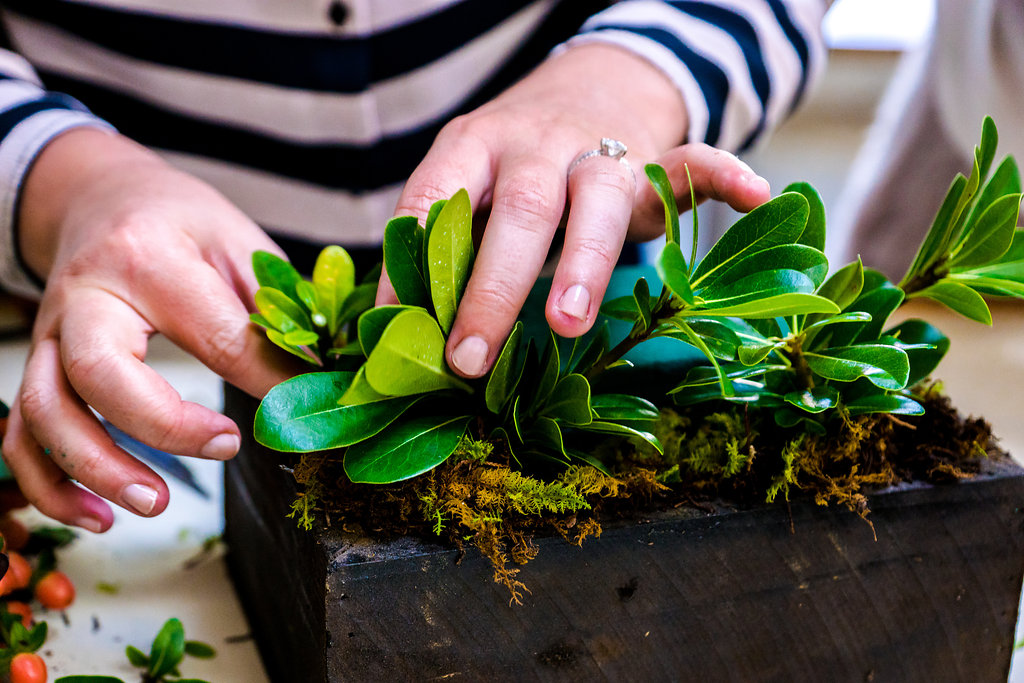
- Step 3: Use plenty of greenery. I loved the moss that we used - it was such an unexpected element, but easy to manipulate and can be found at your local craft store or florist. Cindy from Newberry Brothers also suggests using different heights, textures, and angles when adding greenery as filler - don't worry about not having enough greenery, you can always add more later!

- Step 4: Once you have a good base, you can start adding flowers. Cut stems and remove extra leaves so you have a clean stem to place in foam and make sure there is enough stem to go in foam for the flower to "drink" (about 2 inches).


- Step 5: Place flowers in foam at different angles instead of straight in the middle. Also don't be afraid to cut apart multi-stem flowers to make arrangement fuller (we did this with the hypericum berries).
- Step 6: Look at your arrangement from all sides to make sure you have spread the flower love somewhat evenly, so everyone will be able to enjoy it from all angles.

How gorgeous are the colors in these arrangements? They are so pretty and festive and are perfect for any Thanksgiving table. Stop by your local florist (or Newberry Brothers for local friends) and ask them to help you pick some of these pretty blooms for your arrangements. We felt so proud of ourselves after successfully completing our pretty and coordinated arrangements and I'm sure you will have a blast creating yours too!
Car2Go wants to make sure that everyone has an affordable way to get around town during the holidays, so they have reduced their one time membership fee ($5 for new members who will also receive their first 60 minutes free)... for those lucky enough to be members already, Car2Go has lowered their per minute pricing to $0.29 a minute (a serious steal if you ask me!).
Photography: Corey Anthony

This post is in collaboration with Car2Go and Newberry Brothers. All opinions are my own. Thank you for supporting the brands that make this blog possible!